 Hack the Route Start free Open app
 The idea
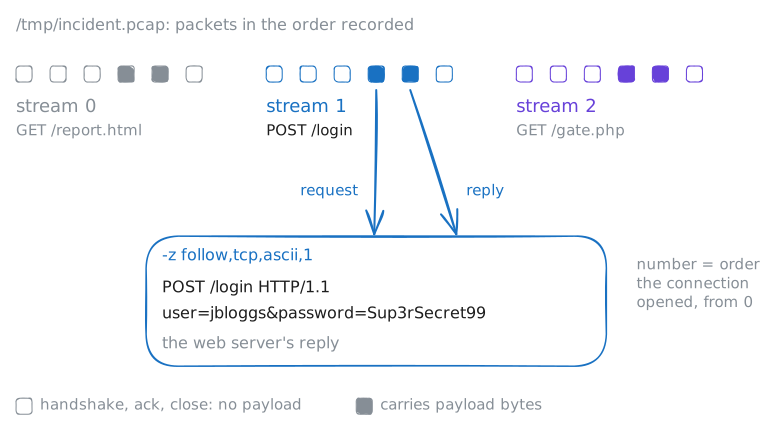
Pcap analysis reads an incident back from a capture file, a recording of every packet: who was involved, what leaked, and the outside server a machine phoned home to. The victim workstation talked to webServer and to c2Server through the sensor; you read the saved file on the victim with tcpdump and tshark.
Steps
-
The capture the sensor recorded
Every packet from the time the victim was compromised is saved in
/tmp/incident.pcap. You touch nothing live, only the file, so the evidence stays as it was. Start wide: listing only the connection openings shows each conversation on one line, and one address in it you should not recognise.victim:~# tcpdump -nr /tmp/incident.pcap 'tcp[tcpflags] & tcp-syn != 0 and tcp[tcpflags] & tcp-ack == 0'
-
Who talked to whom: conversations and endpoints
Let the tool summarise the file instead of reading packet by packet. Conversations lists each pair of talkers and how much they exchanged; endpoints lists every address with its totals. The victim is in every conversation, as expected — so the signal is its one peer that sits outside the company's networks.
victim:~# tshark -r /tmp/incident.pcap -q -z conv,tcp
victim:~# tshark -r /tmp/incident.pcap -q -z endpoints,ip
Pro
4 more steps in the app
- What was requested: display filters and fields
- Follow the stream: the leaked credentials
- Export the object: what was taken
- The indicator, and the timeline